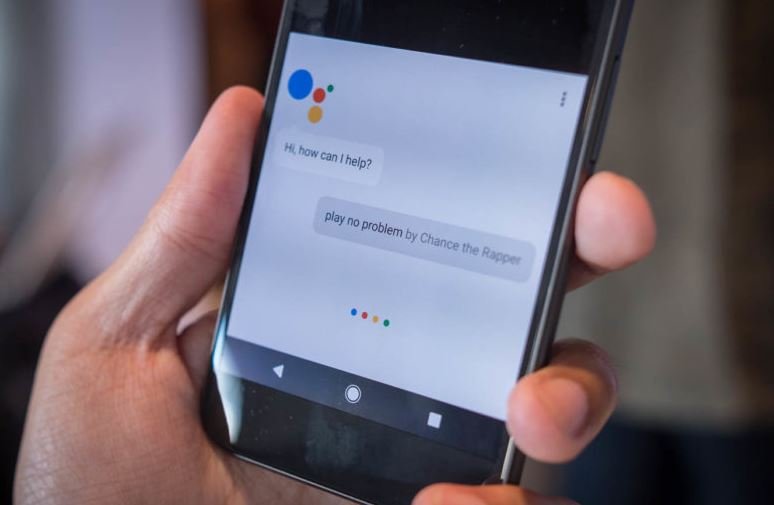
Google is on an upward trend to reach all people with its AI-assistant app. Soon after launching the Google Home in Australia, it announced the introduction of its Google Assistant on iOS. The Google Home is out to rival it out with Amazon Echo while the addition of Google Assistant on iOS pits it against Apple’s Siri.
Google Assistant on iPhone vs Siri

Initially, Google Assistant OS app was only available in the US. Three months later, it has entered the UK market and is rapidly moving to the rest of the world. However, the multi-platform assistant meets numerous API restrictions on the iOS platform. It could not set alarms or be added on the home button to replace Siri. The only option is to add its widget. Google Assistant could only send iMessages and play music on Spotify.
With Google’s promise to improve the Assistant and add more integration, it is foreseen that Siri will soon be struggling to remain relevant on its own backyard. But just like Broadband Choices noted, it is too early to take sides on the supremacy battle between these two cutting edge assistants. For now, we look in details how you can use the Google Assistant on your iOS device.

1) First things first
First, visit Apple Store and download the Google Assistant app. It is available in the UK and the US. After signing into your Google account, allow the app to access your location and microphone. The Assistant then guides you to a chat screen with a list of things which you can ask it. Get your first experience with the assistant by asking, “What can you do?” In response, it will give you detailed information about itself and what it can do for you.
2) Asking a question
There are two ways of asking questions; a voice command or writing it down. For voice command, tap the microphone icon at the lower end of the chat screen as saying what you wish to know. Alternatively, you can touch the keyboard icon next to the microphone for and manually input your request.
3) More Options
Now that you already understand the basics, you can explore the other features of the Assistant. Tap the blue icon on the top right section of the screen to access more options. It will bring two tabs, Explore and Your Stuff.
Tap the Explore tab to find suggestions on what you can ask the assistant as well as recommended tie-ins. “Tie-in” is the Assistant’s unique way of referring to its abilities such as playing music in Spotify. Amazon’s Alexa and Microsoft’s Cortana refer to these as “Skills”.
Your Stuff is the place where Google Assistant arranges your personal plans, or stuff, such as reminders, shopping lists, and events among others. To add new details, tap the corresponding option.
4) Settings
You will automatically want to customize some of the features of the account to suit your preferences. Tap the blue icon for more options then select the three horizontal dots below the “Your Stuff” tab. You will find the Activity, Settings tabs together with other features.
“Activity” shows the history of all your past actions on the assistant. “Settings” tab allows you to manage your payment options, devices and services such as Spotify and Google Home.
5) Restrictions
On top of the already mentioned restrictions are more OS restrictions which limit the capability of the Assistant. It cannot command the launch of any app, including the camera. Even more, it cannot post on Facebook, Twitter or any other social network or launch third party messaging apps such as WhatsApp.
In spite of the restrictions, Google Assistant still has a few advantages over Siri. A notable one is its ability to remember the context. That is, it can correctly figure out related questions if they are asked one after the other. Siri, on the other hand, treats all questions independently. The Assistant is also very clear about its abilities, something Siri lets you figure out on your own. 🙂

