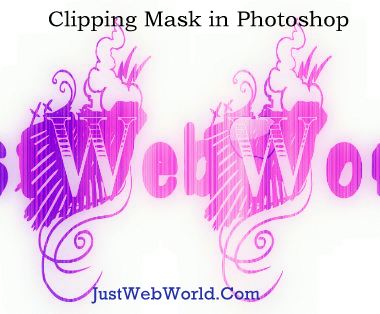
Photo Filled Text Using Clipping Mask
Photoshop is the best tool to create a photo as you want. Photoshop provides many features to create or edit your own photo. It is the product of the Adobe. The Photoshop became the Popular Tools of the Web Designers and Photographers. we can design your own photo by using the Photoshop. Here I Show you how to create a Photo Filled Text in Photoshop using the Clipping Mask Feature.
Steps for Creating Clipping Mask in Photoshop :-
1 > First of all Open the image in Photoshop that you want to put in text.
2 > After create a background copy layer of the image.
3 > then select the type tool,choose a font that you want and type text in the image.
4 > then Click On Commit Button from the option bar.
5 > then Click and drag background Copy Layer above the Type Layer.
6 > Right Click On background copy Layer and Select Clipping Mask.
7 > then Create New Blank Layer.
8 > Click and Drag new Blank Layer below the Type Layer.
9 > Press D to Reset the Default Layer.
10 > Press ctrl + Backspace to create photo filled Text and background fill with White Color.
Now your Photo Filled Text Created..!!
Enjoy..!!
Join 25,000+ smart readers—don’t miss out!


2 Comments
Thanks Tushar 🙂
Hi Harshil, Thanks for the great and valuable tutorial. All steps are well described and easy to use.