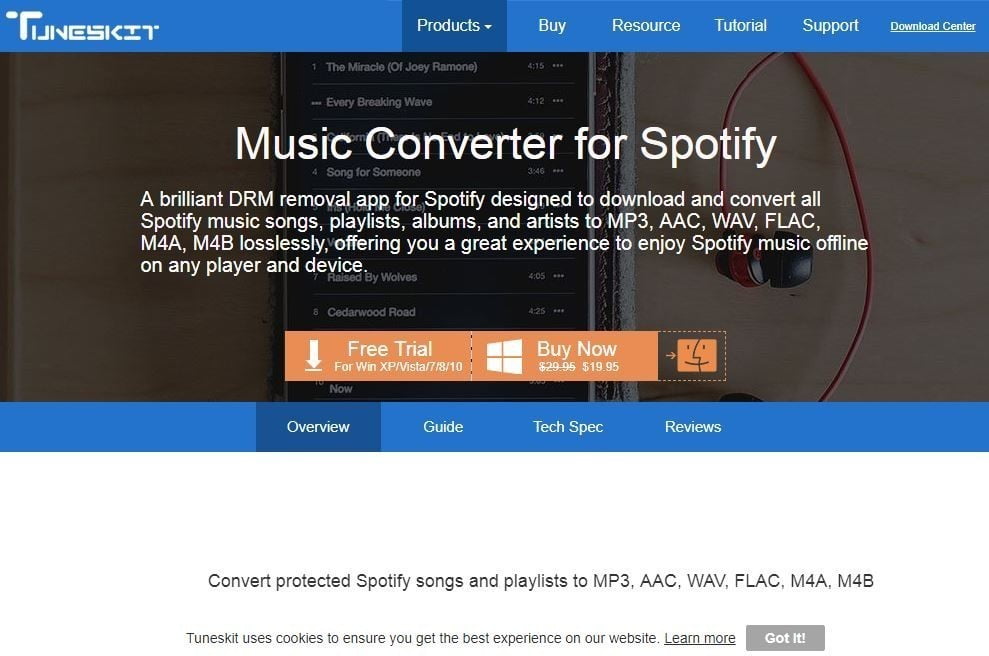
Ever since the inception of internet, we have had our preferences set. From Googling for unknown terms to checking out Spotify for music and creating an online playlist, we all use the internet in our daily lives. However, what would you do if your internet pack expires? In this case, you need to use your Windows media player.

The problem with this is that, Spotify music list is DRM protected, meaning, you cannot use it outside of Spotify or from any other app.
Fortunately, you can always use Spotify Music Convertor for Windows. One of the advantages of this app is that you don’t need to use your data to play the music. You can do it right from the Tuneskit app. You can also save the files in your computer and away from Digital Rights Management (DRM) free environment.
This way, you can play the music when you want it. When you remove DRM from Spotify, you can play it on your Windows media player even.
Benefits of Using Tuneskit Spotify Music Converter Windows

Tuneskit has a lot of benefits. Here are some reasons why you should use this app.
- Completely lossless conversion, meaning you won’t lose any part of your music or playlist.
- Free music, which means, you don’t have to spend money on internet or data packs.
- All saved files would be DRM free, and you can use it in any device.
- Easy and user friendly user interface, with drag and drop features.
- You get free lifetime updates.
- 24/7 customer support in case you have any questions or doubts.
How To Convert Spotify Music To MP3?
With Tuneskit Spotify music converter for Windows, you can convert the Spotify music to MP3, AAC, WAV, M4A, FLACC, or M4B so that you can access it from any device.
Here are the steps to help you convert spotify music to your preferred format.
Step: 1
The first step includes downloading the software from Tuneskit, and installing it.
Step: 2
Once you have installed the software on your Windows PC, you would need to find the album or track from Spotify which you want to convert. Dragging and dropping the tracks or album would do. You can also try inputting the links on the search box of the Spotify app.
Step: 3
The next step is setting up your music preferences and output format. For this, you can click on the Menu bar and choose your preferences. You have the option of choosing from MP3, AAC, WAV, FLACC, M4A or M4B.
Additionally, you can also alter the bit rate and audio rate based on your preferences. The best way to avoid any conversion errors is to set the conversion rate to 1X.
Step: 4
The final step is to convert the Spotify songs to MP3. Once you are satisfied with the settings, all you need to do is click on the ‘Convert’ button.
After the conversion is complete, check your history folder to see where the files are. You can locate your folders from the history folder and move them to another location on your PC for easier access.
Technical Requirements
Since this is a Windows based software, it has specific system requirements. They are.
- You should have a Windows OS. It supports Windows XP, Vista, 7, 8, 10 in both 32bit and 64 bit version.
- Your processor should be 1 GHz or above.
- Having a 512 MB or higher RAM is a must.
- You should also have a monitor resolution of 1024 x 768 pixels or higher.
- Lastly, you should have the Spotify app installed.
You can get all the supported input formats of Soptify. As for the outputs, they can be MP3, AAC, WAV, FLACC, M4A or M4B.
Conclusion
One of the reasons why people love Spotify is the diversity in their songs and playlist. However, not always do we have internet balance to help us enjoy live streaming.
The Tuneskit Spotify music converter for Windows will help you to compile your favorite Spotify songs and listen to them on any device. What’s more, you won’t have to pay any additional bucks for that.
You will have your very own music and live streaming on the go, as and when you need it. So, what are you waiting for? Go ahead and grab this software now!


