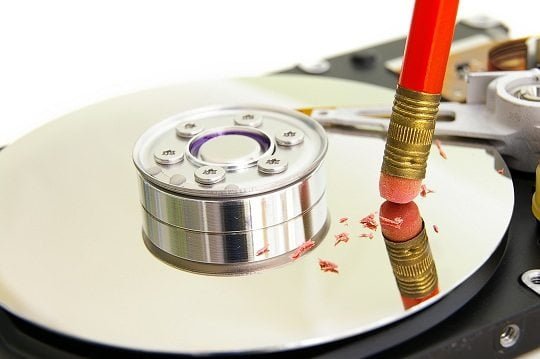
By saying wipe a hard drive means that it will completely erase all data and files from the hard drive. If you are simply deleting files from the entire hard drive or formatting the hard disk then it does not really mean that you are wiping the hard drive.
How To Wipe a Hard Drive (Permanently Erase Everything)

Whenever, you delete files from a hard drive or format it, basically it means that the files are invisible from that disk but it doesn’t mean they are wiped permanently.
With the help of any data recovery software you can easily recover them. If you want to make sure that everything is deleted from the hard drive permanently then you will have to take an advanced step to completely wipe a hard drive using a special third party software.
Important note: Using the following instruction will completely erase all the information and wipe an entire hard drive permanently. So, make certain to generate a complete backup of your hard drive to avoid any kind of important data loss.
Alright, so we will assume that you have create a total backup of your hard drive and are ready to wipe your hard drive. In this guide, we will be using Super Eraser by SafeWiper to Erase everything on Mac hard drive as this is the best solution to this issue.
What is SafeWiper for Disk?
Data Wiper for Mac is a professional programs provided by SafeWiper for Disk that helps to completely wipe a hard drive and its information permanently. It is absolutely free to use and offers three different wiping methods to choose from. It can individually delete data from your computer or it can wipe an entire hard drive beyond recovery.
It is assured that no data recovery software can restore these deleted information. So, make sure you have a backup of your hard drive in a safe location to avoid any kind of data loss.
Top Features of SafeWiper for Disk
- Permanently erase data from your computer. (Must thing to do before selling or donating your computer)
- Delete data completely if you are using a public computer to maintain your files security and safety.
- Totally virus and adware free.
- Dedicated staff support to assist you with any issue.
- Free lifetime upgrade to serve you the best experience.
How to Use Safewiper for Disk?
SafeWiper Data Wipe Mac is developed and designed in such an elegant manner that both novice and advanced users can use it without any hustle. The usage of this program is quite self-explanatory and data can be deleted with just a few clicks.
Step 1. Download the program from the official website to your computer. It is supported in both Windows and Mac version so make sure to download the correct version for your computer.
Step 2. Install the program on your computer by reading the instruction and finish the essential steps to start using the tool.
Step 3. Launch the program to see the main interface of the software for the first time.
Step 4. From the left sidebar pane, you will be glancing several option. The software provide three modes of data deletion methods. To wipe a hard drive, you should select the “Wipe Hard Drive” option.

Step 5. On the right pane of the program, all the logical hard drive names will appear with their details. Select the driver name that you wish to wipe completely.
Step 6. After selecting the hard drive, click on “Wipe Now” to start the wiping operation.
That’s all. The program will now automatically start wiping your entire hard drive and it may take several minutes to finish this task depending on the size of the drive.
Conclusion:
In this short tutorial, we just demonstrated how to wipe a hard drive. Although, you can use the same software to erase selected files and folders and also you can wipe free space from hard drives.
You can also use SafeWiper for Disk to make extra space on your computer to store new information. But if you are selling or donating your computer then it is recommended to use a professional tool like SafeWiper for Disk to delete all information from your computer to make sure that everything is wiped permanently. Prevention is always better than cure. 🙂


